
-

 Better BP®There’s a better way to capture BP—discover the keys to more accurate measurements.
 -

 Exam Room DesignBetter exam room designs help create better care experiences for patients and staff.
 -

 Workflow OptimizationDesign a more efficient, effective healthcare experience.
 -

 Asset Tracking + ManagementEnsure that your caregivers readily have the assets they need while better controlling costs.


Government Solutions
-

 Architectural ResourcesVisit our planning and design library for the architectural resources you need.
 -
Design for the Point of CareLet us help you design a more efficient, effective healthcare experience.
-

 Exam WorkflowsBetter care starts with a better exam space. We can help.
 -
Procedures WorkflowsResponding to patient demands while controlling costs requires greater efficiency in the procedures room workflow.
-
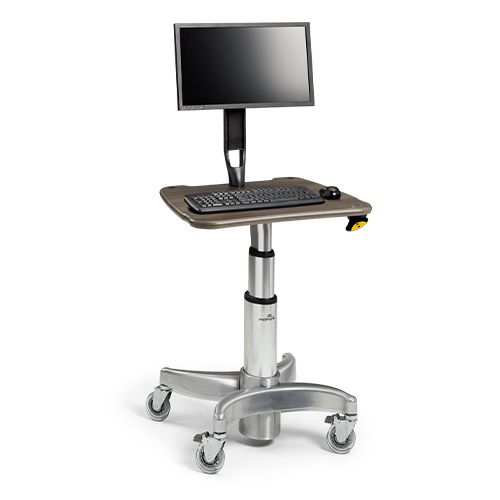
Vital Signs WorkflowsEnhance caregiver-patient interaction and improve outcomes at the foundation.
-
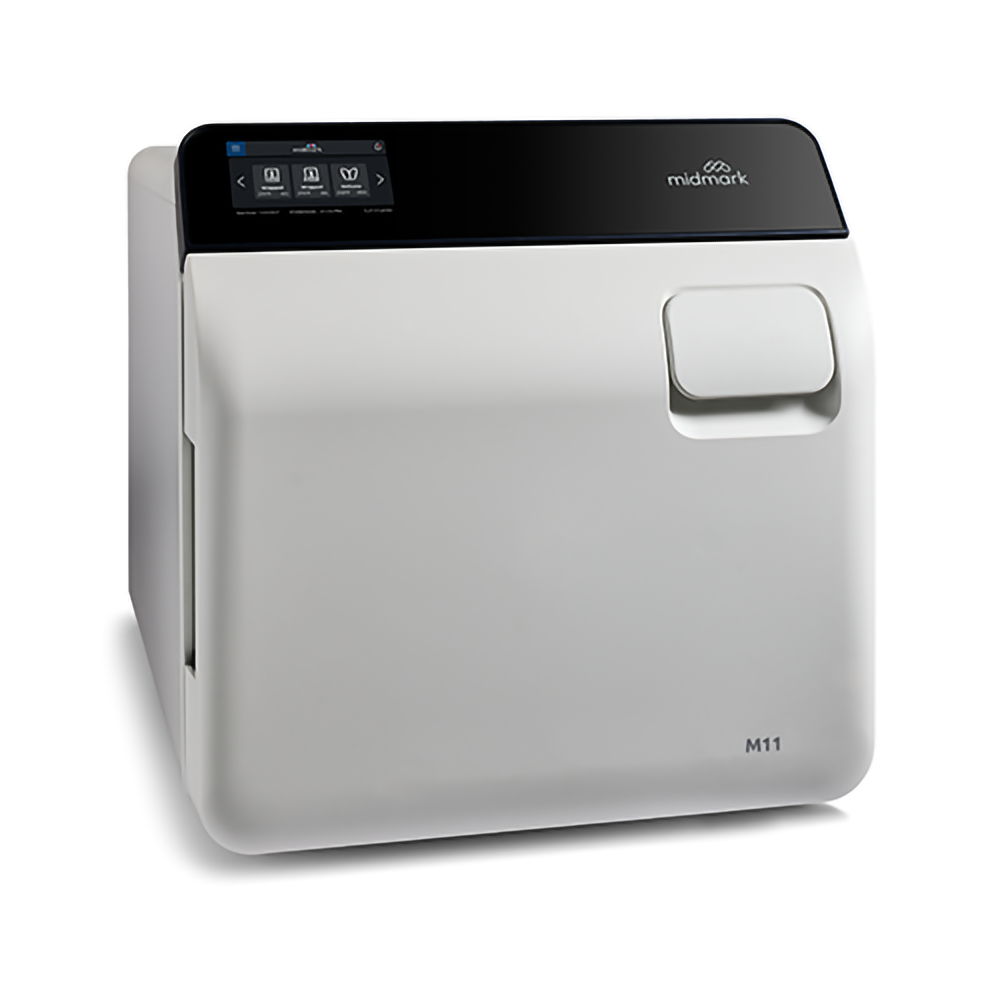
Instrument Processing WorkflowStandardize the flow of instruments to reduce contamination and improve efficiency.
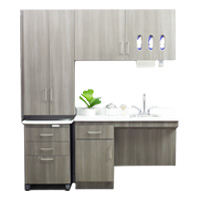
Synthesis® Cabinetry Catalog

Explore our digital catalog for available products and part numbers.

Our Approach to Design

At Midmark, we harmonize clinical space, workflow and technology to design better care experiences.
2024 Vital Signs Extended Warranty Promotion

-
InfographicsLet us show you the whole picture with real-world applications.
-
Published PerspectivesChange is a constant in healthcare – and we’re leading the way. Read our recent bylines and articles.
-

 BlogLet’s talk about better care. Join the discussion today.
 -
Medical Press ReleasesFind out what’s happening at Midmark. View the latest news about Midmark and the healthcare industry.
Education
Services
-

 Consulting ServicesLet us help you make data-driven decisions to improve patient flow and clinical processes.
 -

 Delivery ServicesTake the worry out of coordination, delivery and systems integration.
 -
 Repair + ServiceExplore available support and services plans to help keep your medical equipment and devices operational.
Support
-

 Product Manuals (Technical Library)Visit our technical library for product manuals and more.
 -

 Shop Parts, Software + ServicesVisit The Online Parts Store for 24/7 ordering.
 -

 Technical Support | MedicalLet our dedicated technical service team help you find parts, documentation and more.
 -

 Customer ExperienceOur friendly support team is here to assist you every step of the way.


 RECEIVING + CLEANING
 PREPARATION + PACKAGING
 STERILIZATION
 MONITORING/STERILITY ASSURANCE
 STORAGE