


Maintaining Your Infection Prevention Vigilance: Five Critical Steps of Instrument Processing

10/21/2022
The COVID-19 pandemic brought a new urgency to infection prevention, serving as a reminder to healthcare professionals that a strong infection prevention program is important to keep patients and caregivers safe.
However, as we slowly emerge from this pandemic and other operational priorities demand attention, there is the understandable risk that focus may shift away from infection prevention programs.
One way to remain vigilant and help ensure your staff maintains a strong focus on infection prevention is to standardize the most important part of your infection prevention program: instrument processing.
Regardless of the size and shape of your instrument processing area, there are five critical steps, based on guidelines from the Center for Disease Control and Prevention (CDC),
that can help standardize your instrument processing workflow.
Receiving, Cleaning + Decontamination
Reusable instruments, supplies and equipment should be placed in appropriate containers at the point of use to prevent percutaneous exposure incidents (PEIs) during transportation to the instrument processing area. All items should be received, sorted, cleaned and decontaminated of both macro- and microscopic debris in one section of the processing area.
Do not use commercial- or residential-grade dishwashers to clean the instruments. The CDC recommends only using equipment FDA-cleared for instrument reprocessing in healthcare settings.
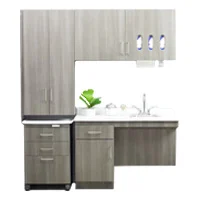
Preparation + Packaging
This area should contain a sink where the cleaned instruments and other supplies can be rinsed and then dried thoroughly. Items should then be inspected, assembled into sets or trays and wrapped or packaged to maintain sterility.
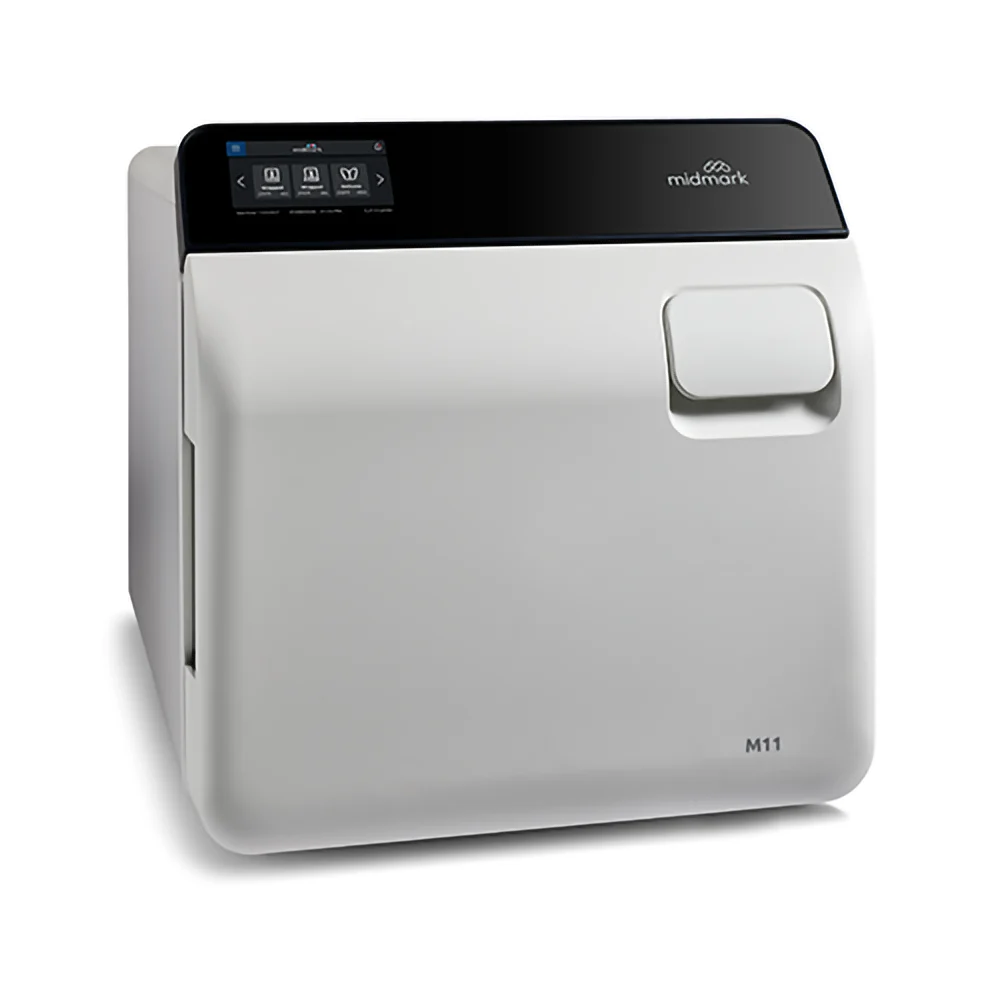
Sterilization
The sterilization area should include the sterilizer and related supplies with adequate space for loading, unloading and cool down of instruments and other supplies. Thought also needs to be given to the size and type of sterilizer(s) that will need to fit into the area. Factors to consider include the number of patients seen, type of procedures performed, number of instruments used and configuration of your instrument processing space.
Not all sterilizers are created equal, so understanding sterilizer functionality and features is important. Confirm that your sterilizers have been FDA-cleared and ASME-certified by a third-party licensed inspector.
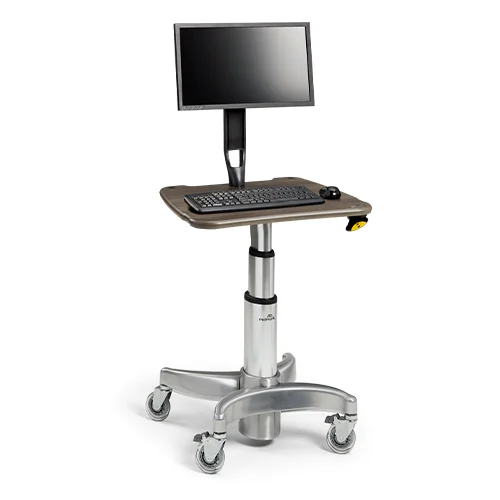
Monitoring/Sterility Assurance
This area needs to be configured to support the documentation and recording of mechanical, chemical and/or biological monitoring utilized to help ensure the effectiveness of the sterilization process. Monitoring results and records need to be stored long enough to comply with federal, state and local regulations.
The CDC recommends that for each sterilization cycle, you should record the type of sterilizer and cycle used; the load identification number; the load contents; the exposure parameters (e.g., time and temperature); the operator’s name or initials; and the results of mechanical, chemical and biological monitoring.
Storage
The storage area should be covered and contain space for sterile items and disposable items. Supplies and instruments should not be stored under sinks or in other locations where they might become wet or damaged, or the packaging could be compromised.
By utilizing these five steps to standardize your instrument processing workflow, you can make it easier to manage the process and allow it to be reproducible for all your staff. The standardized repetition will act somewhat like muscle memory, ensuring consistent and effective instrument processing that safeguards the well-being of patients and staff.
For more information on taking a holistic approach with your infection prevention program, read our white paper. You can also visit the Midmark Design Center for more information on instrument processing workflow.