


-
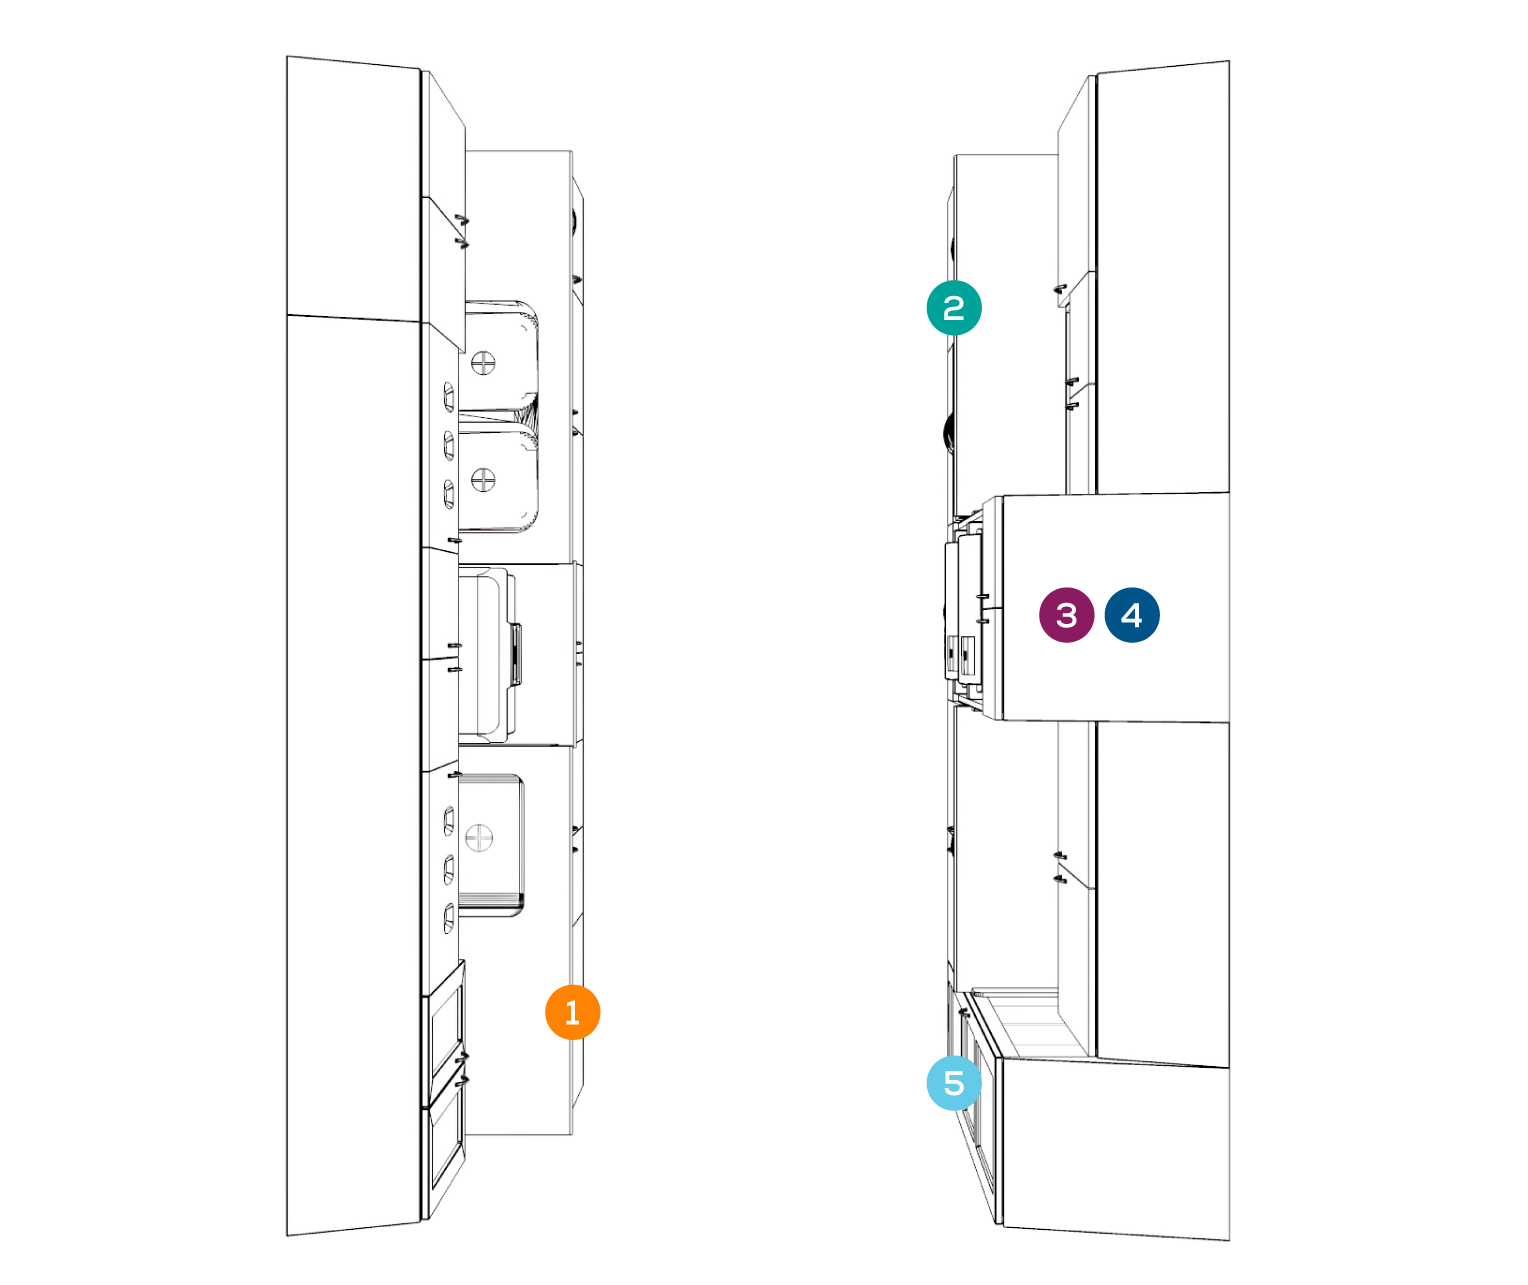
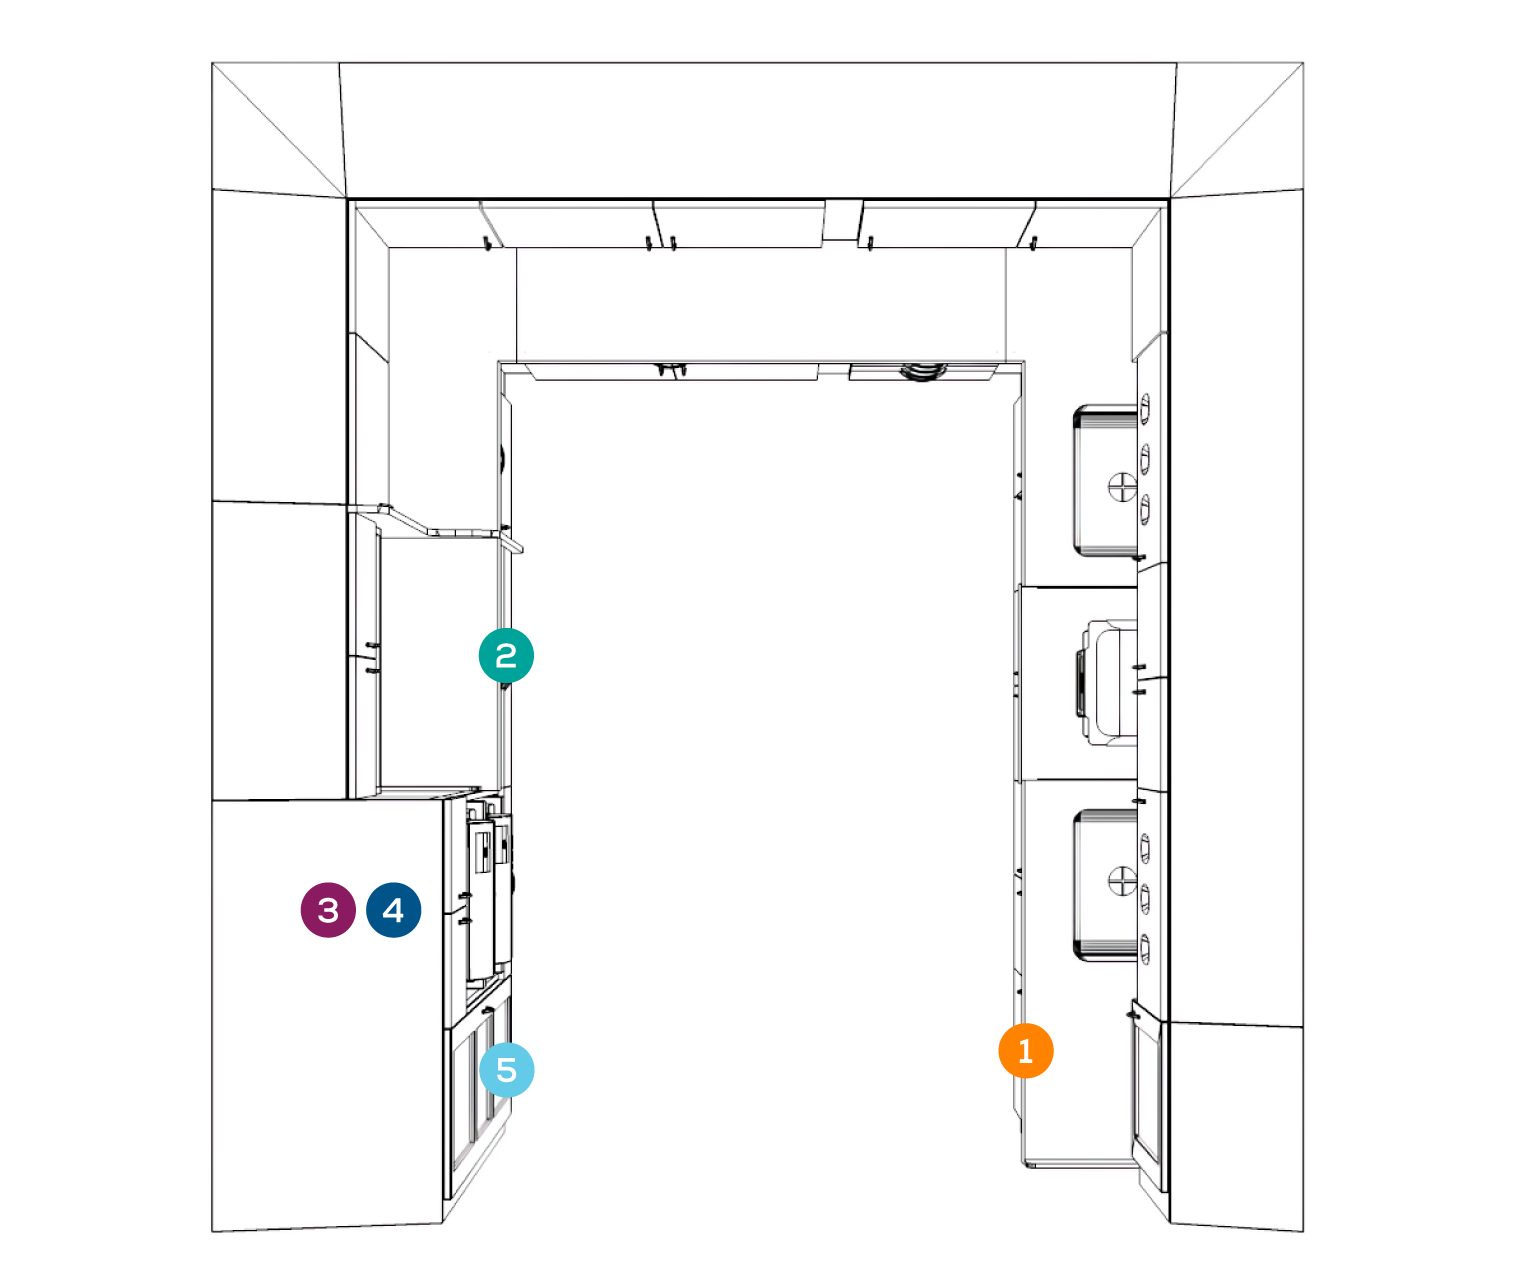 U-SHAPEDFor facilities with a larger procedure volume, the instrument processing area must be large enough for the necessary equipment. The u-shaped workspace design provides ample space and surface areas, allowing more staff in the room while maintaining a clear flow from dirty to clean.
 -
 GALLEYThe galley layout consists of workspaces on two opposing walls with a single traffic lane between. This arrangement allows for easy access and an efficient workflow. This design can help staff keep the process moving using a linear flow from dirty to clean while also keeping everything within reach.
 -
 STRAIGHT LINEThe straight-line layout can help you create an efficient, standardized 5-step instrument processing workflow. The linear design creates a clear flow path from dirty to clean, minimizing the risk of cross-contamination.
 -
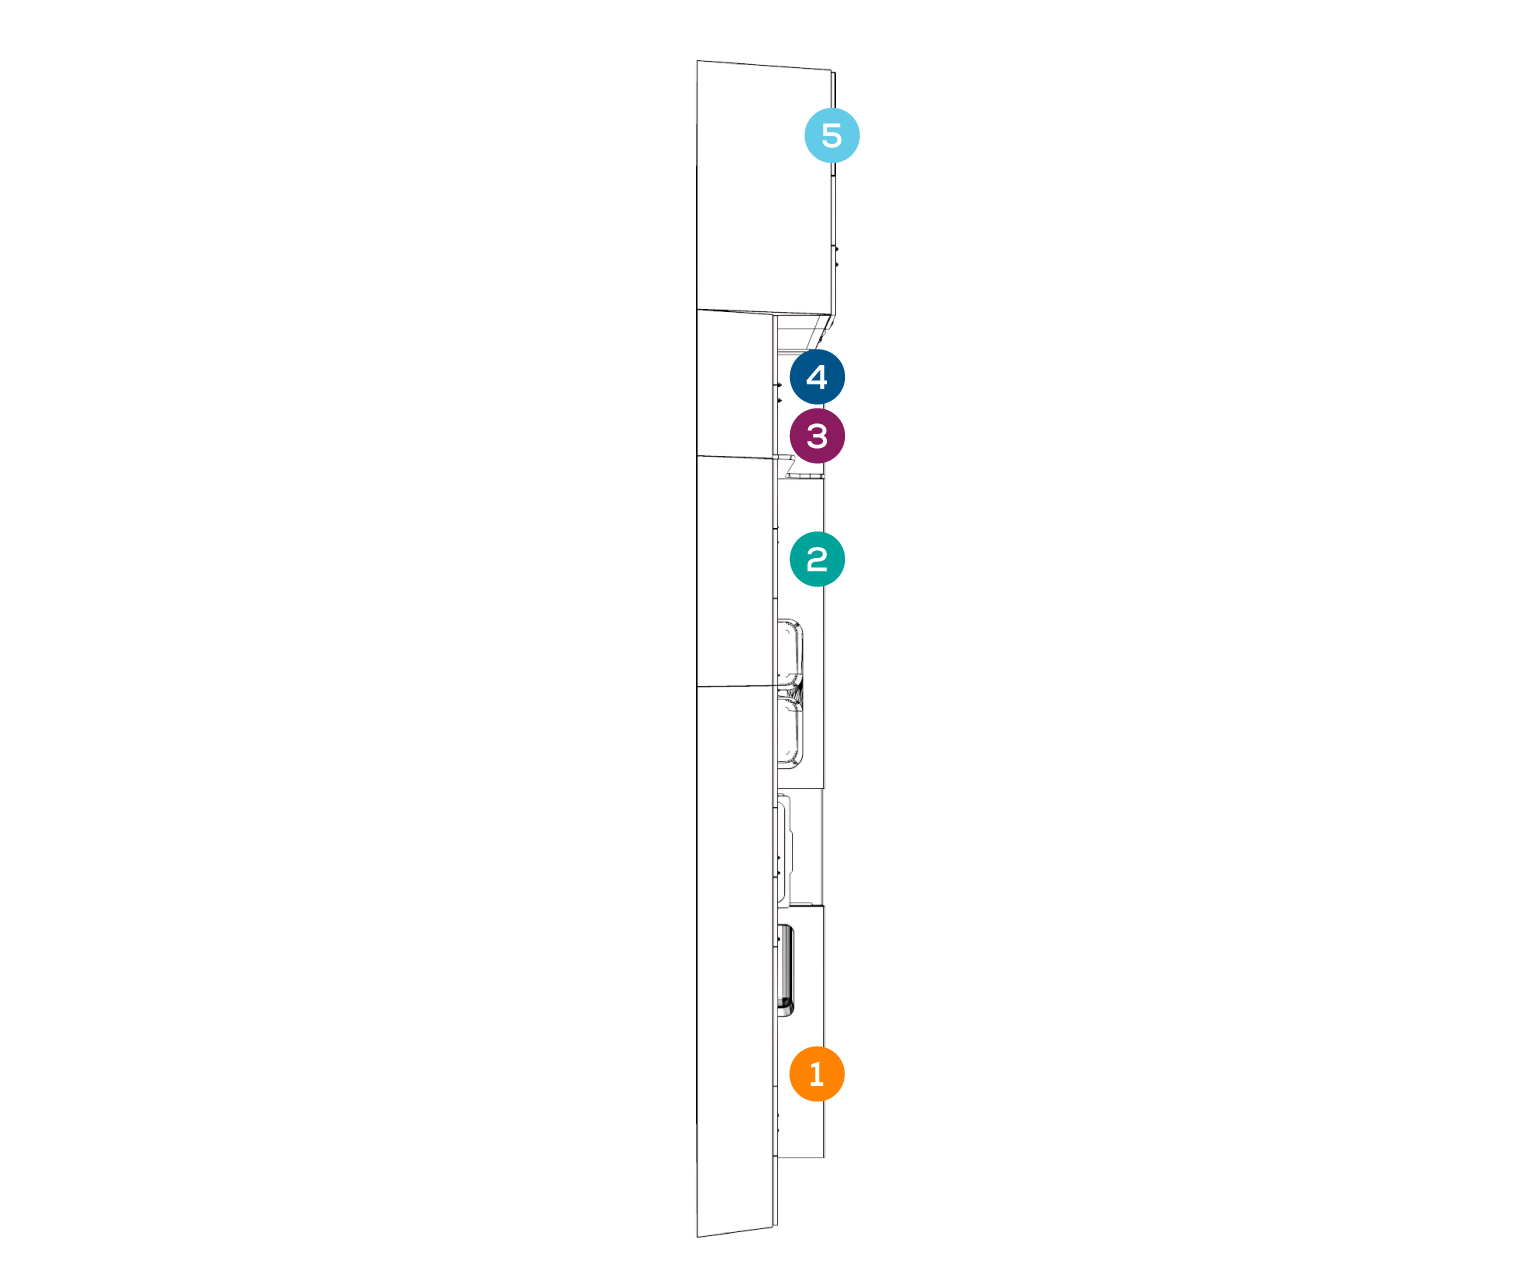
 INSTRUMENT PROCESSING WORKFLOWInstrument processing is a critical part of any infection prevention protocol. Even with a designated area for instrument processing, there’s a chance the workflow design may not be organized efficiently. Following a dirty-to-clean instrument processing workflow recommended by the CDC can help contain contamination and maximize the efficiency of your instrument cleaning and sterilizing process.
- PREPARATION + PACKAGING
- MONITORING/STERILITY ASSURANCE
- STERILIZATION
- STORAGE
- RECEIVING + CLEANING
-
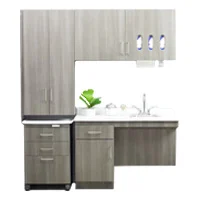
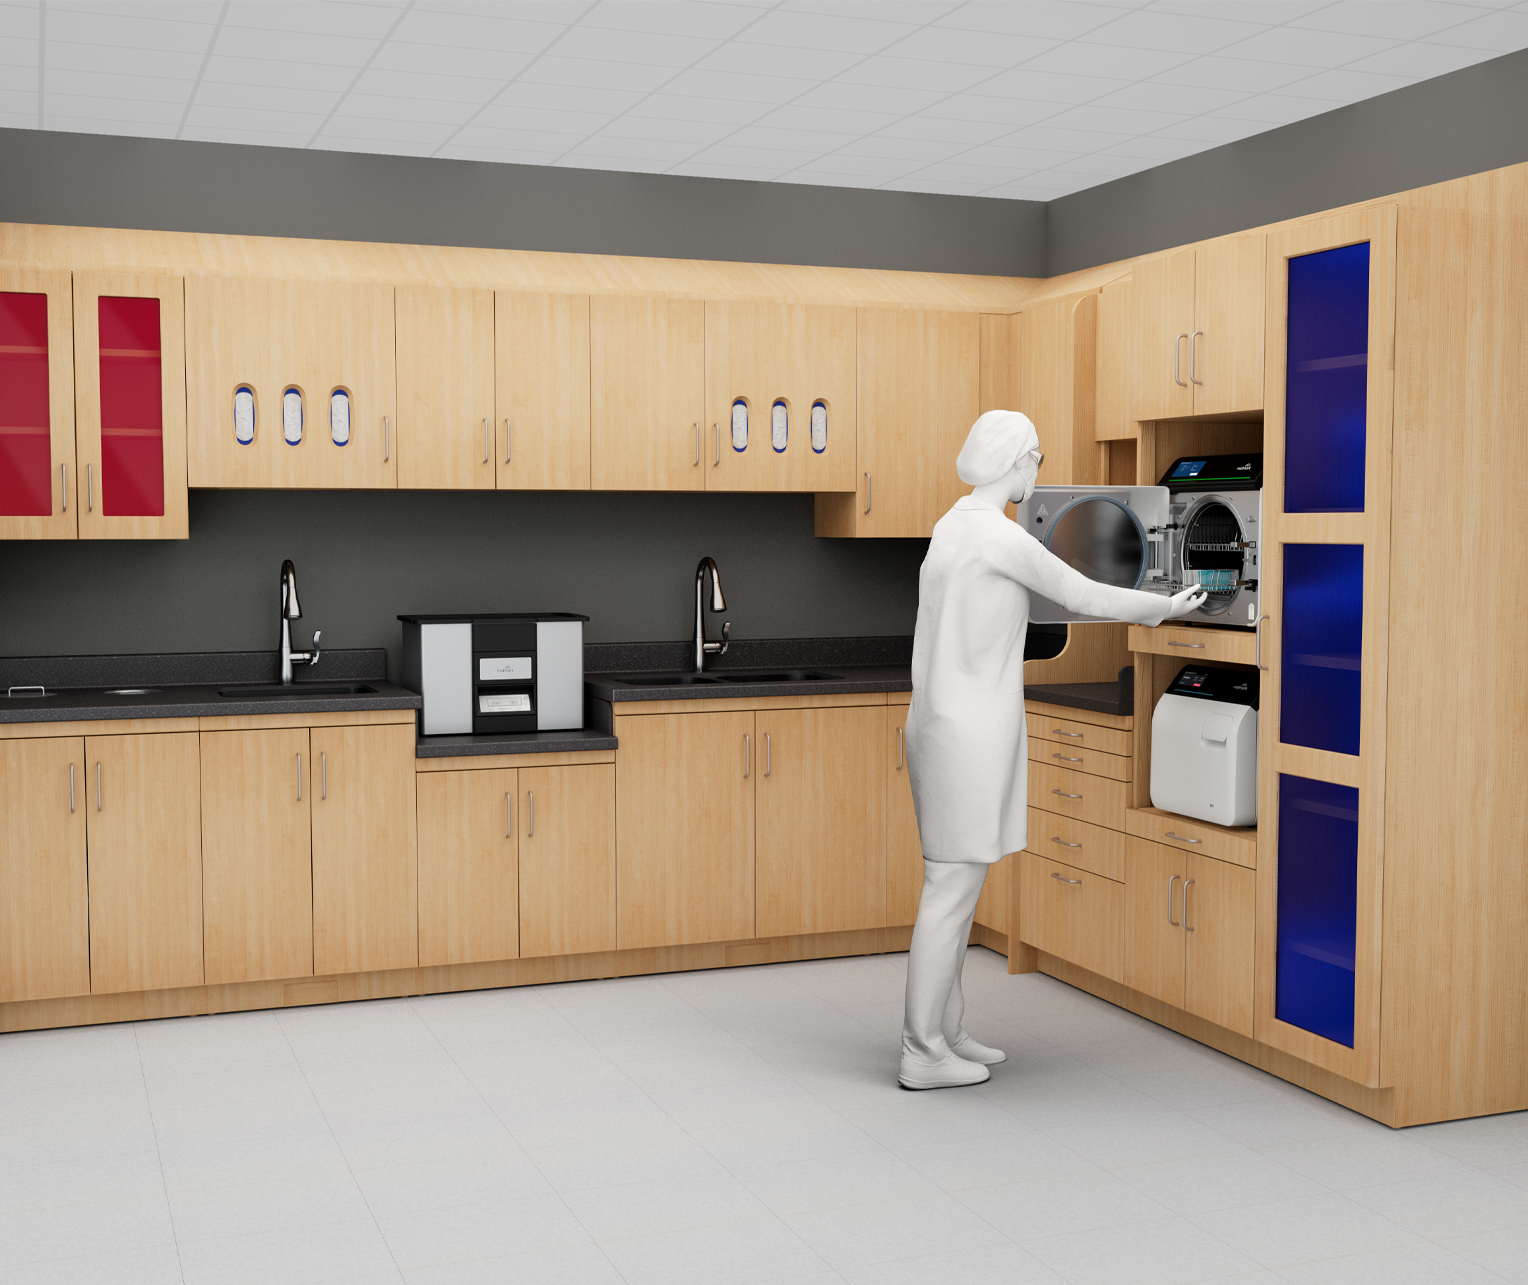
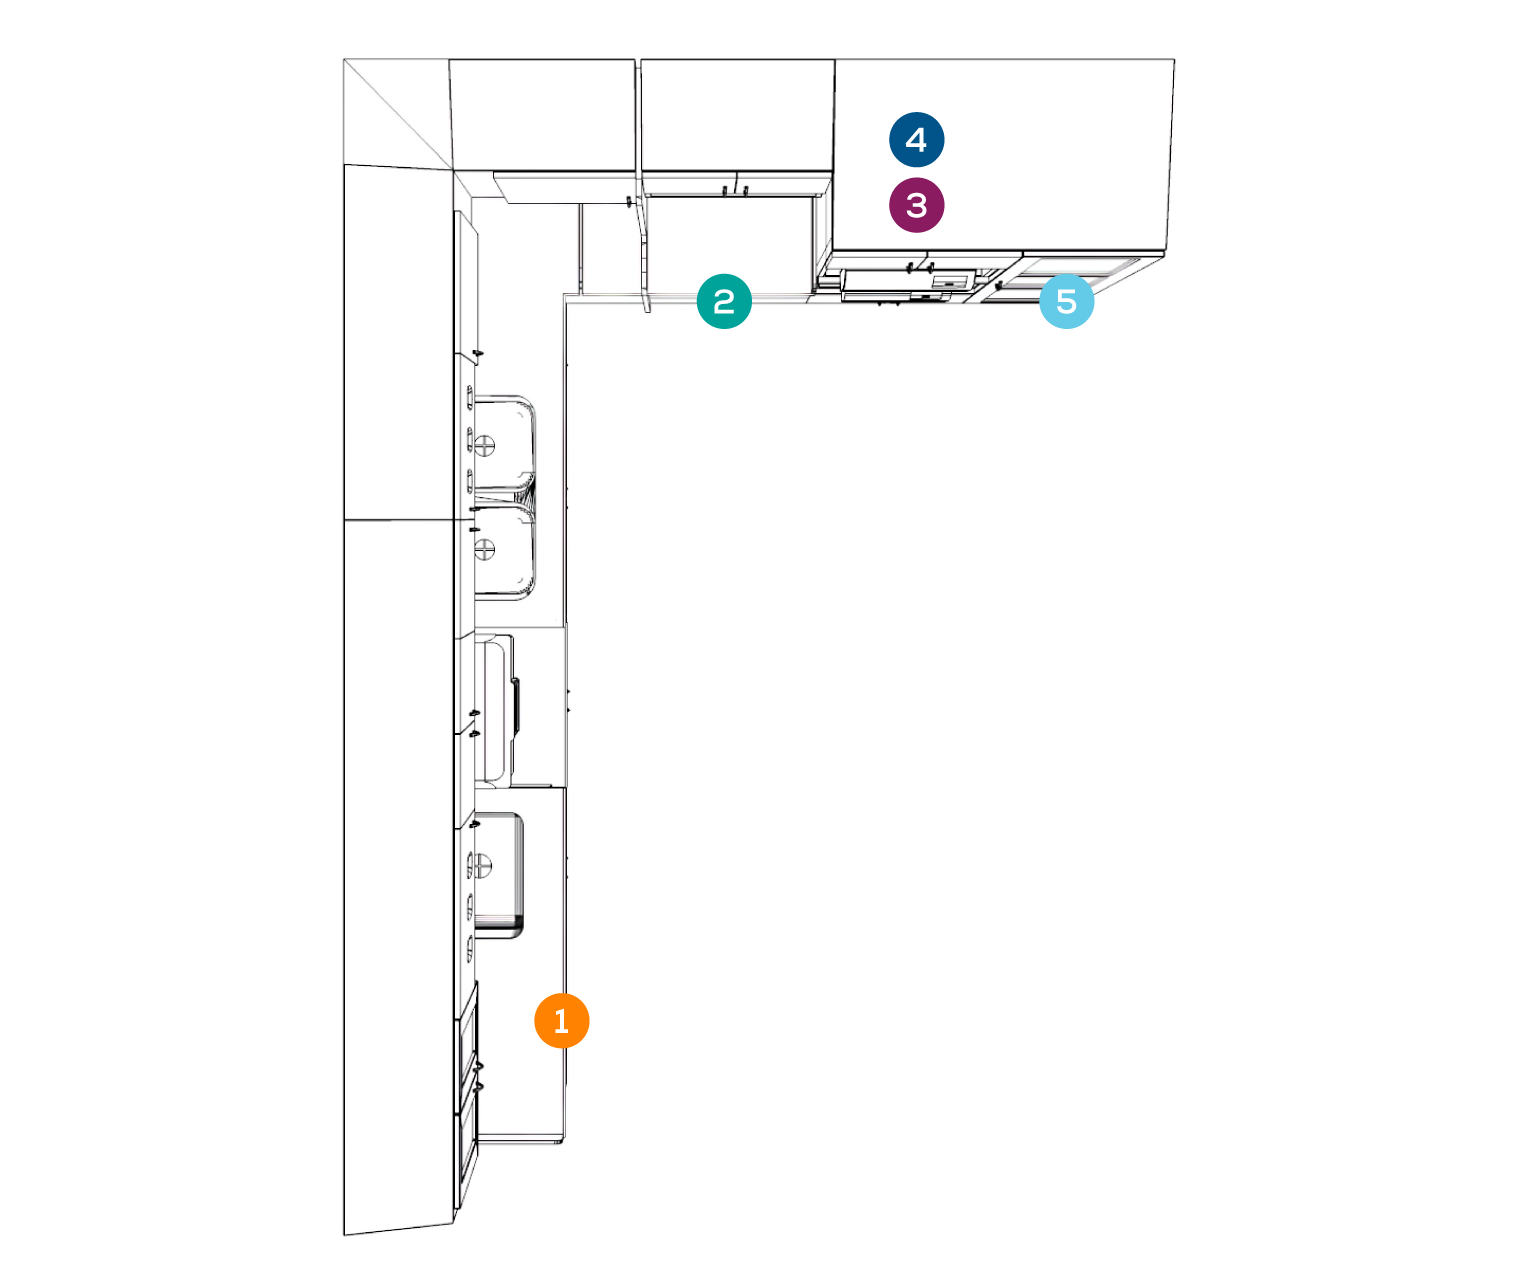 L-SHAPEDAn L-shaped counter arrangement maximizes use of available space where elbow room is limited. The space you have can be all you need for a better instrument processing workflow.
-
 RECEIVING + CLEANING
-
 PREPARATION + PACKAGING
-
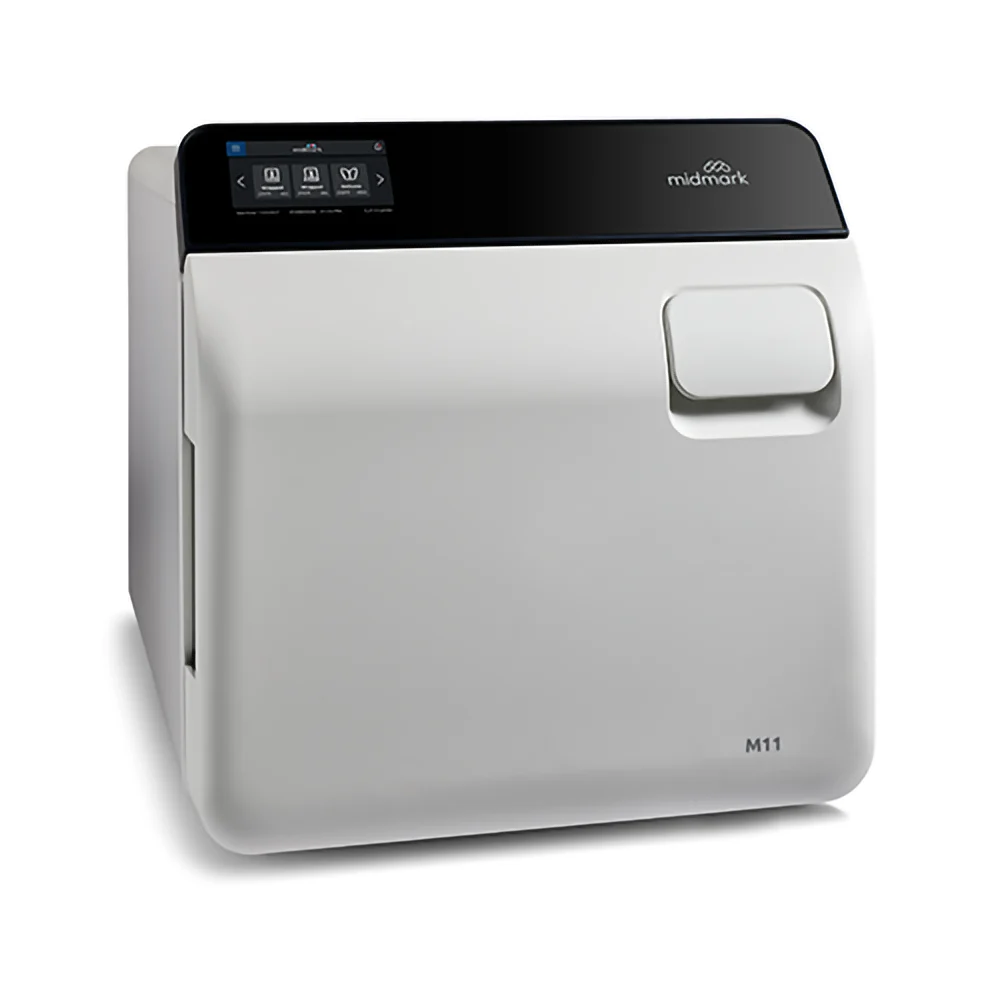
 STERILIZATION
-
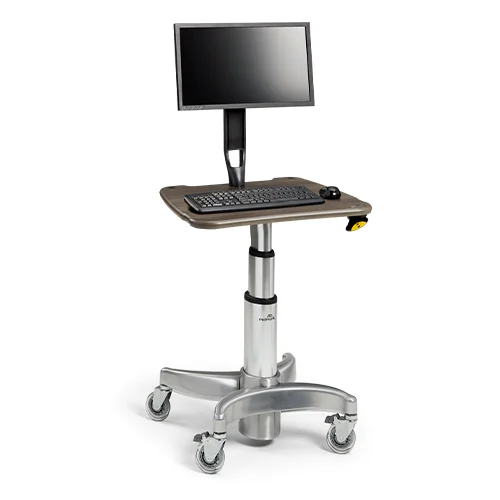
 MONITORING/STERILITY ASSURANCE
-
 STORAGE
Cleaned, dried instruments and other supplies should be inspected for residual debris and damage, assembled into sets or trays, and wrapped or packaged for sterilization.
Mechanical, chemical and biological monitoring should be used to ensure the efficacy of the sterilization process. Results of sterilization need to be recorded.
The sterilization area should include the sterilizer and related supplies with adequate space for loading and unloading the sterilizer. Follow the instructions for use (IFU) on cleaning and sterilizing for each instrument.
The storage area should be adequately sized, closed or covered, and located apart from contaminated instruments in an area protected from moisture. Supplies and instruments should not be stored under the sink.
Reusable instruments, supplies and equipment should be received, cleaned and disinfected in one section of the processing environment.